
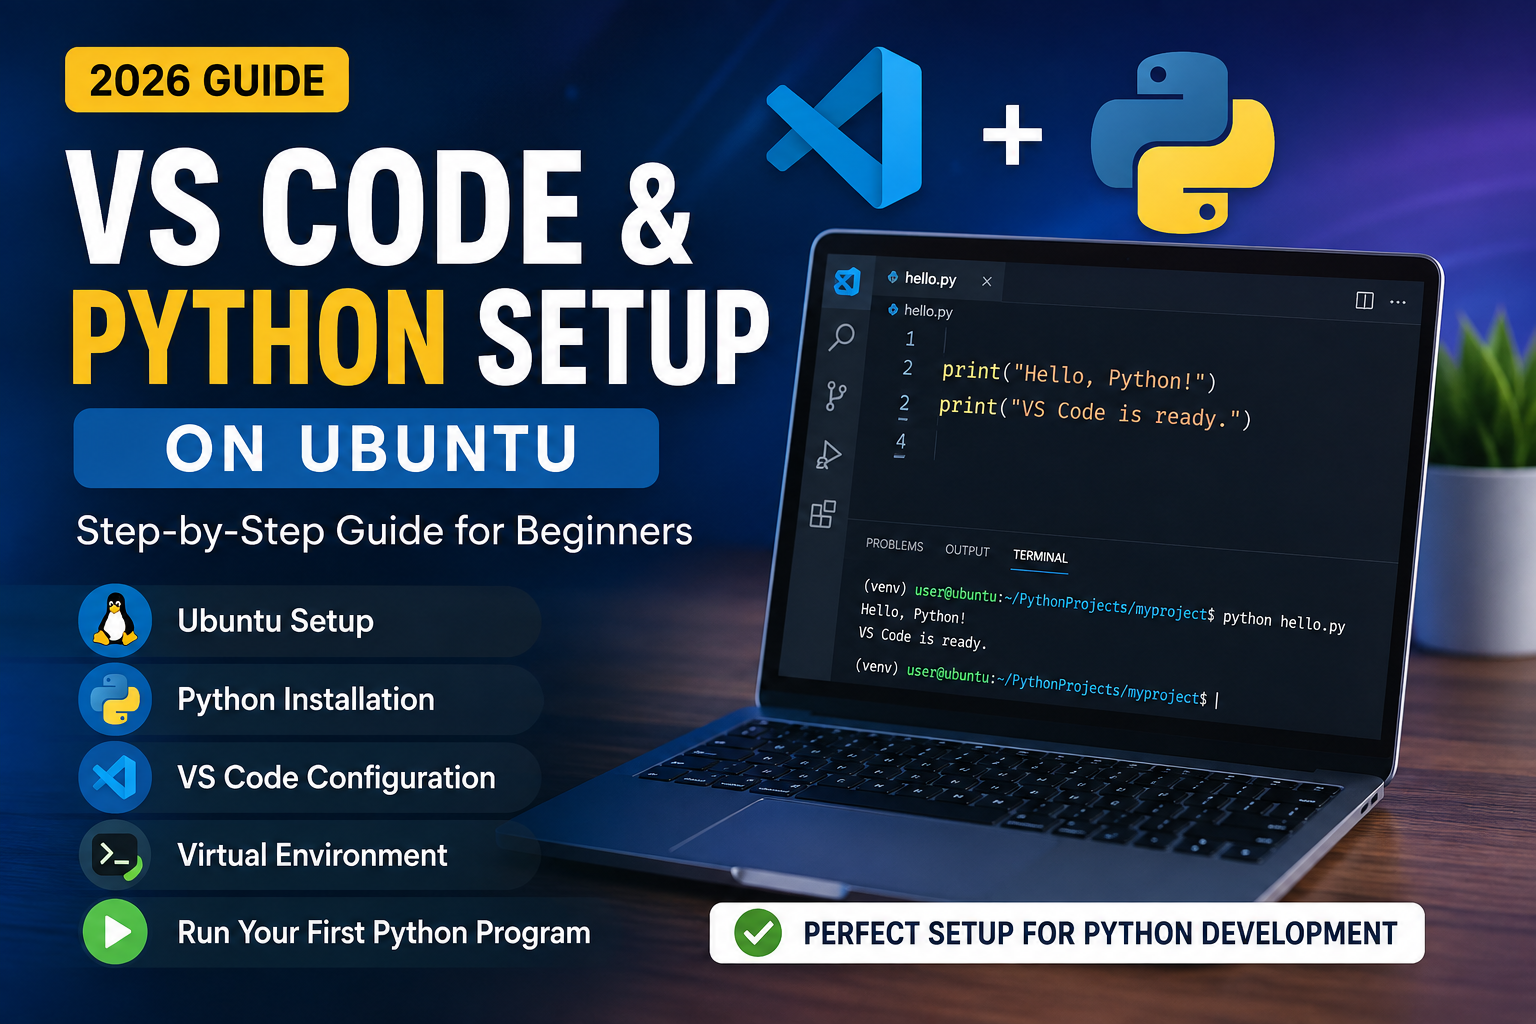
If you want to learn Python programming on Ubuntu, Visual Studio Code (VS Code) is one of the best code editors you can use. It provides features such as syntax highlighting, debugging, extensions, code completion, integrated terminal, and Python environment support.
In this guide, you will learn how to set up Python and VS Code on Ubuntu from scratch and create your first Python program.
What You Need
Before starting, make sure you have:
- Ubuntu Linux
- Internet connection
- Python 3 installed
- Visual Studio Code
- Basic knowledge of using the Linux terminal
Step 1: Check Python Installation
Ubuntu usually comes with Python 3 pre-installed.
Open the Terminal and run:
python3 --version
You should see something similar to:
Python 3.12.3
The exact version may be different depending on your Ubuntu installation.
You can also check the location of Python:
which python3
Example output:
/usr/bin/python3
If Python is not installed, you can install it using:
sudo apt update
sudo apt install python3 python3-pip python3-venv
After installation, verify it again:
python3 --version
Step 2: Install Visual Studio Code
Visual Studio Code is a lightweight but powerful editor developed by Microsoft.
After installing VS Code, check whether it is available from the terminal:
code --version
If the command displays a version number, VS Code is ready to use.
You can open VS Code from the application menu or run:
code
Step 3: Install the Python Extension
Open VS Code and click the Extensions icon from the left sidebar.
Search for:
Python
Install the Python extension published by Microsoft.
It provides important Python development features, including:
- Python code completion
- Syntax highlighting
- Debugging
- Testing
- Virtual environment support
- Code navigation
- Error detection
You can also install Pylance for improved Python language support.
Step 4: Create a Python Project
It is a good practice to keep every Python project in its own directory.
Create a projects folder:
mkdir ~/PythonProjects
Go inside it:
cd ~/PythonProjects
Create a new project:
mkdir myproject
Enter the project directory:
cd myproject
Now open the project in VS Code:
code .
VS Code will open the myproject folder.
Step 5: Create a Virtual Environment
Virtual environments are very important in Python development.
A virtual environment keeps project dependencies separate from your system Python installation.
Create one using:
python3 -m venv venv
This creates a directory named:
venv
Your project structure will now look like:
myproject/
└── venv/
Step 6: Activate the Virtual Environment
On Ubuntu and other Linux distributions, activate the environment using:
source venv/bin/activate
After activation, your terminal should show something similar to:
(venv) user@ubuntu:~/PythonProjects/myproject$
The (venv) indicates that the virtual environment is active.
Step 7: Select the Python Interpreter in VS Code
VS Code needs to know which Python interpreter your project should use.
Press:
Ctrl + Shift + P
Search for:
Python: Select Interpreter
Select the Python interpreter located inside your virtual environment:
./venv/bin/python
This ensures that VS Code uses your project’s virtual environment.
Step 8: Create Your First Python Program
Inside VS Code, create a new file:
hello.py
Add the following code:
print("Hello, Python!")
print("VS Code is ready.")
Save the file.
Step 9: Run the Python Program
You can run the program directly from the VS Code terminal.
Make sure your virtual environment is active:
source venv/bin/activate
Then run:
python hello.py
You should get:
Hello, Python!
VS Code is ready.
Congratulations! Your Python development environment is now working.
Step 10: Install Python Packages
Python has thousands of packages that can be installed using pip.
For example, install the requests package:
pip install requests
You can verify the installed package with:
pip show requests
Now create a Python file:
import requests

response = requests.get("https://example.com")

print(response.status_code)
Run it:
python hello.py
Step 11: Create a requirements.txt File
When working on larger projects, it is useful to save the project’s dependencies.
Run:
pip freeze > requirements.txt
You will get a file like:
requirements.txt
Other developers can install the same dependencies using:
pip install -r requirements.txt
This is especially useful when uploading Python projects to GitHub or deploying them to a server.
Step 12: Debug Python Code in VS Code
One of the biggest advantages of VS Code is its built-in debugging support.
For example:
name = "Adil"
age = 25

print(name)
print(age)
You can place a breakpoint by clicking next to the line number.
Then start the debugger from the Run and Debug section.
The debugger allows you to:
- Stop program execution
- Inspect variables
- Execute code step by step
- Find errors
- Understand program flow
This makes debugging much easier than using only print() statements.
Recommended Python Project Structure
For a beginner project, you can use:
myproject/
│
├── venv/
├── main.py
├── requirements.txt
└── README.md
For a larger project:
myproject/
│
├── venv/
├── app/
│   ├── __init__.py
│   ├── main.py
│   └── utils.py
│
├── tests/
├── requirements.txt
├── README.md
└── .gitignore
Common Problems and Solutions
Python Command Not Found
If you get:
python: command not found
Try:
python3 --version
On Ubuntu, python3 is commonly the correct command.
Virtual Environment Cannot Be Created
If you get an error related to venv, install the required package:
sudo apt install python3-venv
Then create the environment again:
python3 -m venv venv
pip Installation Error
If Ubuntu reports an externally managed Python environment, avoid installing packages globally.
Instead, create and activate a virtual environment:
python3 -m venv venv
source venv/bin/activate
Then install packages:
pip install package-name
VS Code Uses the Wrong Python Version
Open the Command Palette:
Ctrl + Shift + P
Select:
Python: Select Interpreter
Then choose:
venv/bin/python
Why Use VS Code for Python?
VS Code is popular among Python developers because it combines a lightweight editor with powerful development tools.
Important features include:
- Python extension support
- Intelligent code completion
- Debugging
- Integrated terminal
- Git integration
- Virtual environment support
- Extensions
- Code formatting
- Testing tools
- Project management
It can be used for everything from beginner Python programs to web applications, automation tools, APIs, data analysis, and machine-learning projects.
What Can You Build After Setting Up Python?
Once Python and VS Code are configured, you can start building real projects.
Beginner Projects
- Calculator
- Number guessing game
- To-do list
- Quiz application
- Password generator
- File organizer
Intermediate Projects
- Web scraper
- Weather application
- Expense tracker
- MySQL database application
- REST API
- Automation scripts
Advanced Projects
- Flask web application
- Django website
- AI application
- Chatbot
- Machine-learning project
- Voice assistant
- Business management system
Conclusion
Setting up VS Code and Python on Ubuntu is straightforward. First, verify Python, install VS Code, add the Python extension, create a project directory, and create a virtual environment.
Once your environment is ready, you can write, run, debug, and manage Python applications directly from VS Code.
The most important command sequence to remember is:
mkdir ~/PythonProjects
cd ~/PythonProjects
mkdir myproject
cd myproject
python3 -m venv venv
source venv/bin/activate
code .
After completing this setup, you are ready to start learning Python and building real-world applications.