
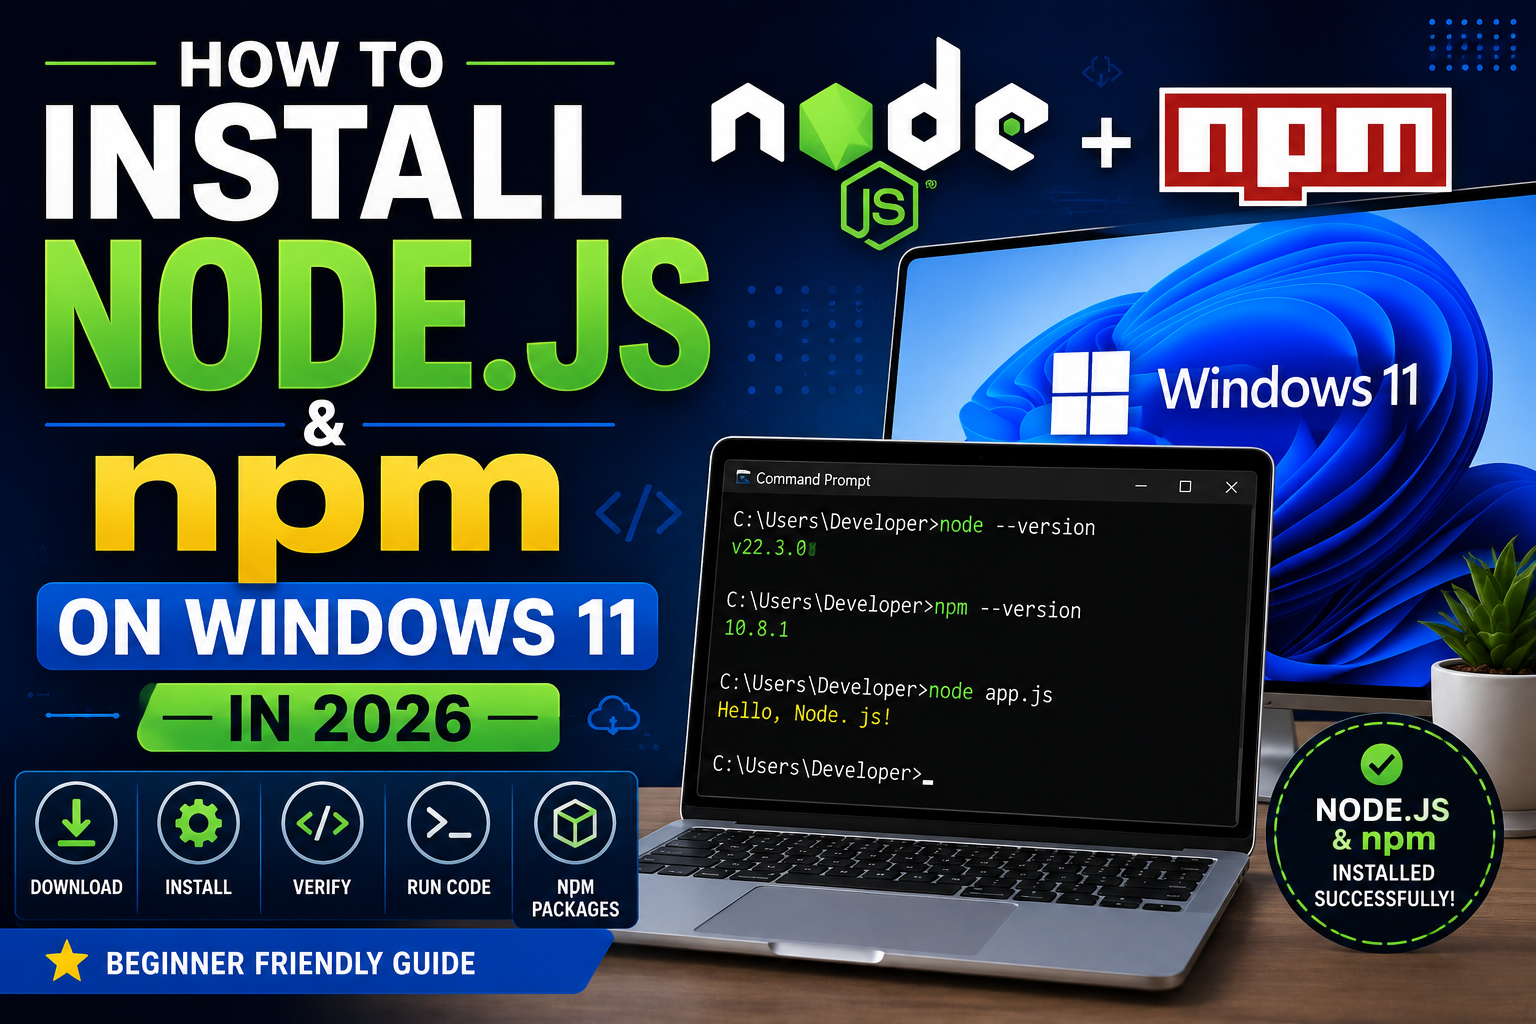
Node.js is one of the most popular technologies for modern web development. It allows developers to run JavaScript outside the web browser and is widely used for building web applications, APIs, command-line tools, and backend services.
If you’re learning JavaScript, React, Next.js, Express.js, or full-stack development, installing Node.js is one of the first things you should do.
The good news is that installing Node.js and npm on Windows 11 is relatively simple.
In this beginner-friendly guide, you’ll learn how to install Node.js and npm on Windows 11 in 2026, verify the installation, run your first Node.js program, install npm packages, and troubleshoot common problems.
What Is Node.js?
Node.js is a JavaScript runtime that allows JavaScript code to run outside a web browser.
Traditionally, JavaScript was primarily associated with browsers. Node.js made it possible to use JavaScript for server-side and command-line applications as well.
Node.js is commonly used for:
- Backend development
- REST APIs
- Web applications
- Real-time applications
- Command-line tools
- Automation
- Build tools
- React and frontend development
- Next.js applications
- Express.js applications
For example, developers can use Node.js to create a web server:
console.log("Hello from Node.js!");What Is npm?
npm stands for Node Package Manager.
It is the package manager commonly used with Node.js projects.
With npm, developers can install thousands of JavaScript packages created by the community.
For example:
npm install expressThis installs Express into your project.
npm is also used to:
- Install dependencies
- Manage packages
- Run project scripts
- Update packages
- Remove packages
- Create JavaScript projects
When you install Node.js using the official Windows installer, npm is normally installed along with it.
Node.js vs npm
Node.js and npm are related but they are not the same thing.
| Node.js | npm |
|---|---|
| JavaScript runtime | Package manager |
| Runs JavaScript outside browser | Installs JavaScript packages |
| Used for backend applications | Manages project dependencies |
Executes .js files | Runs npm scripts |
For example:
node app.jsruns a Node.js program.
While:
npm install expressinstalls a package.
Step 1: Download Node.js for Windows 11
The first step is to download Node.js from the official Node.js website.
Go to the official Node.js website and download the Windows installer.
For most developers, the LTS version is the best choice.
What does LTS mean?
LTS stands for Long-Term Support.
An LTS release is intended to provide a stable environment for production applications and long-term projects.
If you’re a beginner, use the current LTS release unless a particular project requires another version.
Step 2: Run the Node.js Installer
After downloading the Windows installer, open the .msi file.
The Node.js Setup Wizard will appear.
Click:
Next
Read the license agreement and accept the terms.
Then click:
Next
Step 3: Choose the Installation Location
The installer will ask where Node.js should be installed.
For most users, the default location is fine.
You can simply click:
Next
There is normally no reason for beginners to change the installation directory.
Step 4: Select Components
The installer will show several components.
Keep the default options selected.
These normally include:
- Node.js runtime
- npm package manager
- Corepack
- Documentation shortcuts
- Add to PATH
The Add to PATH option is particularly important because it allows you to run node and npm commands from Command Prompt or PowerShell.
Click:
Next
Step 5: Install Node.js
Click:
Install
Windows may ask for administrator permission.
If prompted, allow the installer to continue.
Wait until the installation finishes.
Then click:
Finish
Node.js should now be installed on your Windows 11 computer.
Step 6: Open Command Prompt
Now we need to verify the installation.
Press:
Windows + R
Type:
cmdand press Enter.
You can also use Windows PowerShell or Windows Terminal.
Step 7: Check the Node.js Version
Run:
node --versionYou should see a Node.js version number.
For example:
v22.x.xor another currently supported version depending on when you install it.
The exact version can change over time, so don’t worry if your version number differs from examples shown in older tutorials.
Step 8: Check the npm Version
Now run:
npm --versionYou should see an npm version number.
For example:
10.x.xAgain, the exact version depends on the Node.js release installed on your system.
If both commands return version numbers, Node.js and npm are working correctly.
Step 9: Create Your First Node.js Program
Let’s create a simple Node.js application.
Create a folder:
mkdir node-demoEnter the folder:
cd node-demoCreate a JavaScript file called:
app.jsPut the following code inside it:
console.log("Hello, Node.js!");Save the file.
Step 10: Run Your Node.js Program
Open Command Prompt inside the project folder and run:
node app.jsYou should see:
Hello, Node.js!Congratulations! You have successfully run your first Node.js application.
Step 11: Create a Node.js Project with npm
Now let’s create a proper npm project.
Inside your project folder, run:
npm initnpm will ask you several questions, including:
- Package name
- Version
- Description
- Entry point
- Test command
- Git repository
- Keywords
- Author
- License
For a beginner project, you can press Enter to accept the default values.
At the end, npm will create:
package.jsonWhat Is package.json?
package.json is one of the most important files in a Node.js project.
It contains information about your project and its dependencies.
A simple example looks like:
{
  "name": "node-demo",
  "version": "1.0.0",
  "description": "My first Node.js project",
  "main": "app.js",
  "scripts": {
    "start": "node app.js"
  }
}
It can also contain:
- Dependencies
- Development dependencies
- Scripts
- Project metadata
- Version information
Step 12: Use npm init -y
If you don’t want npm to ask multiple questions, you can use:
npm init -yThis automatically creates a basic package.json.
For beginners, this is often the quickest way to start a Node.js project.
Step 13: Install an npm Package
Let’s install a popular Node.js package.
For example:
npm install expressnpm will download Express and add it to your project’s dependencies.
Your package.json will contain something similar to:
"dependencies": {
  "express": "^5.x.x"
}
The exact version will depend on the package version available when you install it.
Step 14: Install a Development Dependency
Some packages are only needed while developing an application.
You can install a development dependency using:
npm install --save-dev nodemonModern npm also supports:
npm install -D nodemonDevelopment dependencies are stored under:
"devDependencies"Step 15: Create npm Scripts
You can define commands inside package.json.
For example:
{
  "scripts": {
    "start": "node app.js"
  }
}
Now run:
npm startnpm will execute:
node app.jsThis becomes especially useful for larger projects.
Step 16: Install Packages Globally
Some command-line tools are installed globally.
For example:
npm install -g nodemonThe -g option means global installation.
You can then run:
nodemon app.jsHowever, for project-specific dependencies, installing them locally is generally preferable.
Step 17: Check Installed Packages
To see packages installed in your current project:
npm listFor a simpler dependency tree:
npm list --depth=0This can show packages such as:
node-demo
├── express
└── nodemon
Step 18: Update npm Packages
To check outdated packages:
npm outdatedTo update packages according to the project’s configured version ranges:
npm updateBefore updating dependencies in an important production project, check the package’s release notes and compatibility.
Step 19: Remove an npm Package
If you no longer need a package:
npm uninstall expressnpm will remove the package from the project and update package.json.
Step 20: Install All Project Dependencies
Suppose you download a Node.js project from GitHub.
The project may contain:
package.jsonbut not the node_modules directory.
Run:
npm installnpm reads package.json and installs the required dependencies.
This is one of the most common commands you’ll use when working with existing JavaScript projects.
What Is node_modules?
When you install npm packages, npm creates a directory called:
node_modulesIt contains installed packages and their dependencies.
For example:
my-project/
├── node_modules/
├── package.json
├── package-lock.json
└── app.js
You normally should not manually edit files inside node_modules.
For many projects, node_modules is also excluded from Git using:
node_modules/inside .gitignore.
What Is package-lock.json?
When npm installs dependencies, it usually creates:
package-lock.jsonThis file records detailed dependency versions so installations can be reproduced more consistently.
In most application projects, you should commit package-lock.json to your Git repository.
Node.js Installation Not Working?
Sometimes Windows doesn’t recognize the node command after installation.
If you run:
node --versionand receive something like:
'node' is not recognized as an internal or external commandtry the following solutions.
Solution 1: Restart Command Prompt
Close Command Prompt completely.
Open a new Command Prompt and run:
node --versionSometimes the PATH environment variable isn’t recognized by an already-open terminal.
Solution 2: Restart Windows
If the command still doesn’t work, restart your computer and test again.
Solution 3: Check the PATH
Node.js needs to be available through the Windows PATH environment variable.
Open Windows search and search for:
Environment VariablesOpen:
Edit the system environment variables
Then select:
Environment Variables
Check the Path variable.
The Node.js installation directory should be included.
How to Find the Node.js Installation
You can run:
where nodeIf Node.js is correctly available, Windows should show the executable location.
You can also run:
where npmThis helps determine whether Windows can find the Node.js and npm executables.
Node.js for React Development
If you’re planning to learn React, Node.js is useful because modern React projects commonly use Node-based development tooling.
For example, a Vite-based project can be created with:
npm create vite@latestThen enter the project:
cd my-projectInstall dependencies:
npm installStart the development server:
npm run devThe exact project setup can vary depending on the framework and tooling you’re using.
Node.js for Backend Development
Node.js can also be used to build backend applications.
A common stack is:
Node.js
   +
Express
   +
Database
Developers can build:
- REST APIs
- Authentication systems
- Admin dashboards
- E-commerce backends
- Real-time applications
- Microservices
For example, Express can be installed with:
npm install expressNode.js vs Browser JavaScript
JavaScript in a browser has access to browser APIs such as:
document
window
localStorage
Node.js runs outside the browser and provides APIs for server-side and system-level tasks.
For example:
const fs = require("fs");can be used to work with files in Node.js.
This is one of the major differences between browser JavaScript and Node.js.
Useful Node.js and npm Commands
Here is a quick cheat sheet:
| Command | Purpose |
|---|---|
node --version | Check Node.js version |
npm --version | Check npm version |
node app.js | Run JavaScript file |
npm init | Create package.json |
npm init -y | Create package.json automatically |
npm install | Install project dependencies |
npm install package | Install a package |
npm uninstall package | Remove a package |
npm update | Update dependencies |
npm outdated | Check outdated packages |
npm list | List installed packages |
npm start | Run start script |
npm run dev | Run development script |
Frequently Asked Questions
Is Node.js free?
Yes. Node.js is open-source and can be used without purchasing a license.
Does npm come with Node.js?
Yes. npm is normally installed along with Node.js.
Should I install Node.js LTS or Current?
For most beginners and production projects, the LTS release is the safer choice.
Can I install Node.js on Windows 11?
Yes. Node.js supports Windows and can be installed using the official Windows installer.
Do I need Node.js to learn JavaScript?
No. You can learn JavaScript directly in a web browser. However, Node.js becomes very useful when working with modern development tools, package managers, frameworks, and backend development.
Can Node.js run Python?
Node.js and Python are separate runtimes. Node.js runs JavaScript, while Python requires its own Python interpreter. They can communicate with each other in various application architectures.
What is npm used for?
npm is primarily used to install and manage JavaScript packages and run project scripts.
Conclusion
Installing Node.js and npm on Windows 11 is an important first step for modern web development.
The basic process is simple:
Download Node.js
       ↓
Install Node.js
       ↓
Open Command Prompt
       ↓
node --version
       ↓
npm --version
       ↓
Create a project
       ↓
npm init -y
       ↓
Install packages
Once Node.js is installed, you can start building applications with JavaScript, React, Express, Next.js, Vite, and many other development tools.
If you’re a beginner, focus first on understanding:
node --version
npm --version
npm init -y
npm install
npm start
npm run dev
After that, learning Git and GitHub will give you a much stronger foundation for professional web development.