
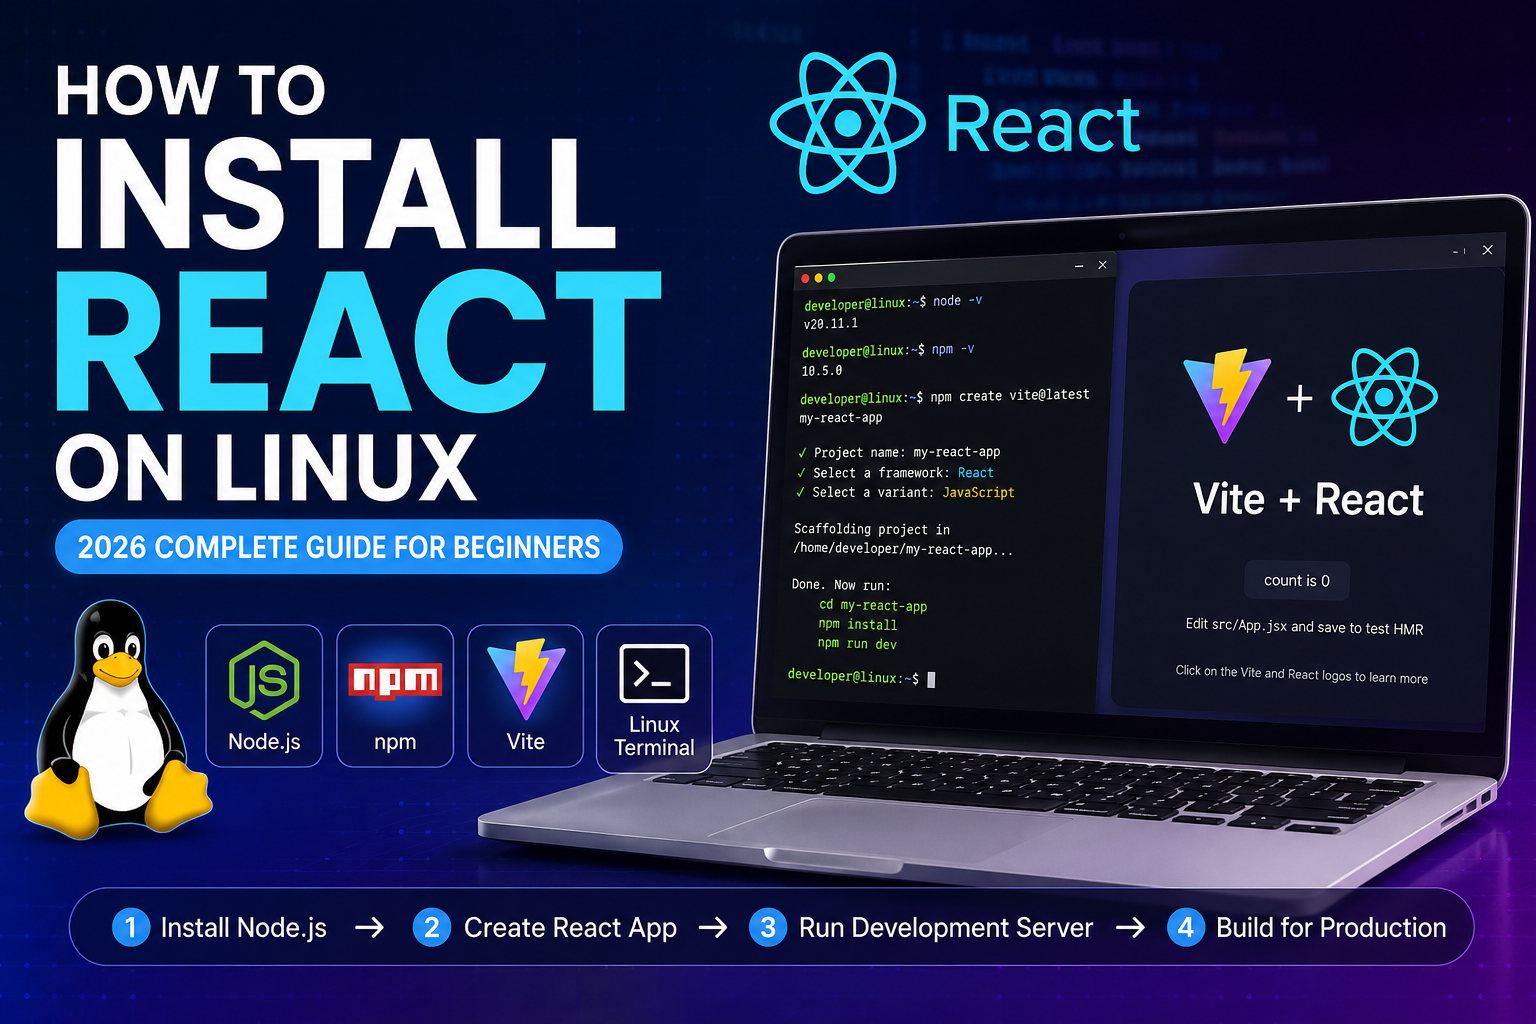
In this guide, you will learn how to install React on Linux, how to install Node.js and npm, how to create a React application using Vite, how to run the development server, and how to build your React application for production.
React is one of the most popular JavaScript libraries for building modern, fast, and interactive user interfaces. If you are using Linux and want to start learning React development, setting up a React project is straightforward.
This tutorial works well for beginners using Ubuntu, Debian, Linux Mint, and other Debian-based Linux distributions.
Read also : How to Install Node.js and npm on Windows 11 in 2026
Read also : Git Commands Every Developer Should Know in 2026
What You Need Before Installing React
React runs on top of the JavaScript ecosystem, so you need Node.js and npm before creating a React project.
You will need:
- Linux operating system
- Terminal
- Node.js
- npm
- Basic JavaScript knowledge
- A code editor such as Visual Studio Code
For modern React projects, Vite is a recommended way to create a new React application.
Step 1: Open the Linux Terminal
First, open your Linux terminal.
On Ubuntu, you can usually press:
Ctrl + Alt + T
You can also open the Terminal from the applications menu.
Before installing anything, update your package list:
sudo apt update
You can also upgrade existing packages:
sudo apt upgrade
The upgrade step is optional.
Step 2: Check Whether Node.js Is Already Installed
Run:
node -v
Then check npm:
npm -v
If you see version numbers such as:
v20.x.x
and:
10.x.x
Node.js and npm are already installed.
If you get an error such as:
node: command not found
you need to install Node.js.
Step 3: Install Node.js on Linux
There are several ways to install Node.js on Linux.
For React development, using NVM (Node Version Manager) is a convenient option because it allows you to install and switch between different Node.js versions.
Install NVM
Run:
curl -o- https://raw.githubusercontent.com/nvm-sh/nvm/v0.40.3/install.sh | bash
After the installation finishes, close and reopen your terminal.
Alternatively, load NVM manually:
source ~/.bashrc
Check that NVM is working:
nvm --version
You should see an NVM version number.
Step 4: Install Node.js
You can install the latest LTS version of Node.js using:
nvm install --lts
Set the LTS version as your default:
nvm alias default lts/*
Now check Node.js:
node -v
And npm:
npm -v
You are now ready to create a React project.
Step 5: Create a React Project Using Vite
Modern React projects are commonly created using Vite instead of the older Create React App workflow.
Navigate to the folder where you want to create your project.
For example:
cd ~/Documents
Now create a React application:
npm create vite@latest my-react-app
Vite will ask you several questions.
For the framework, select:
React
Then select:
JavaScript
if you want to use normal JavaScript.
If you prefer TypeScript, select:
TypeScript
After completing the prompts, a new directory named my-react-app will be created.
Step 6: Open the React Project
Move into your project directory:
cd my-react-app
You can check the files using:
ls
You should see files and folders similar to:
node_modules
public
src
index.html
package.json
vite.config.js
The exact files can vary depending on the Vite template and version.
Step 7: Install Project Dependencies
Inside the project directory, run:
npm install
This command reads the dependencies from package.json and installs them inside the node_modules directory.
After the installation completes, your React project is ready to run.
Step 8: Start the React Development Server
Run:
npm run dev
You should see output similar to:
VITE ready

Local: http://localhost:5173/
Open the displayed address in your web browser.
You should now see the default React/Vite application.
Congratulations! Your React development environment is working on Linux.
Step 9: Open the Project in VS Code
If you use Visual Studio Code, install it and open the project directory.
From inside the React project, you can usually run:
code .
This opens the current project in Visual Studio Code.
If the code command is not available, open VS Code manually and select:
File → Open Folder
Then select:
my-react-app
Step 10: Understand the React Project Structure
A typical React project created with Vite contains several important files.
src/
This is where most of your React application code lives.
For example:
src/
├── App.jsx
├── main.jsx
└── assets/
App.jsx
This is the main React component in the default project.
You can modify it to create your application’s user interface.
For example:
function App() {
  return (
    <div>
      <h1>Hello React!</h1>
      <p>My first React application on Linux.</p>
    </div>
  );
}

export default App;
Save the file and check your browser.
Vite’s development server will normally update the page automatically.
Step 11: How React Works
React applications are built using components.
A component is a reusable piece of the user interface.
For example:
function Welcome() {
  return <h2>Welcome to AdyBlaze</h2>;
}
You can use the component inside another component:
function App() {
  return (
    <div>
      <h1>My React Website</h1>
      <Welcome />
    </div>
  );
}
This component-based architecture makes React applications easier to organize and maintain.
Step 12: Install React Packages
React projects often require additional packages.
For example, you may want to install React Router:
npm install react-router-dom
You can install other packages using the same npm system:
npm install package-name
For development-only packages, you can use:
npm install -D package-name
Step 13: Stop the React Development Server
When you want to stop the development server, return to the terminal and press:
Ctrl + C
The development server will stop.
To start it again, go to your project directory and run:
npm run dev
Step 14: Build a React Application for Production
When your application is ready for deployment, create a production build:
npm run build
Vite will create a production-ready directory, normally:
dist/
You can check it using:
ls
The dist directory contains the files that can be deployed to a web server.
Step 15: Preview the Production Build
You can test the production build locally with:
npm run preview
Vite will provide a local URL where you can preview the built application.
Common React Installation Problems on Linux
Beginners can encounter several common problems while setting up React.
Problem 1: node: command not found
If you see:
node: command not found
Node.js is not installed or is not available in your PATH.
Check NVM:
nvm --version
If NVM is installed but not loaded, try:
source ~/.bashrc
Then:
node -v
Problem 2: npm: command not found
Check whether Node.js is installed:
node -v
If Node.js is working but npm is unavailable, verify your Node.js installation and PATH configuration.
With NVM, reinstalling or switching to the LTS version can help:
nvm install --lts
nvm use --lts
Then check:
npm -v
Problem 3: Permission Errors With npm
You may encounter permission errors if npm was previously configured incorrectly.
Avoid using:
sudo npm install
for normal project dependencies.
Instead, using NVM is generally preferable because Node.js and npm are installed in your user environment.
Problem 4: Port 5173 Is Already in Use
Vite normally uses port 5173.
If another application is already using it, Vite can choose another available port.
You may see something similar to:
Local: http://localhost:5174/
Open the URL shown in your terminal.
Problem 5: Node.js Version Is Too Old
Modern versions of Vite may require a relatively recent Node.js version.
Check your current version:
node -v
If it is old, install the current LTS release:
nvm install --lts
Then use it:
nvm use --lts
Verify:
node -v
How to Install React on Ubuntu Quickly
If you are using Ubuntu and want the short version of the process, use:
sudo apt update
Install NVM:
curl -o- https://raw.githubusercontent.com/nvm-sh/nvm/v0.40.3/install.sh | bash
Reload the shell:
source ~/.bashrc
Install Node.js LTS:
nvm install --lts
Create a React application:
npm create vite@latest my-react-app
Enter the project:
cd my-react-app
Install dependencies:
npm install
Start the development server:
npm run dev
Then open the local URL displayed by Vite.
React vs Create React App
Older React tutorials often recommend Create React App.
For example:
npx create-react-app my-app
However, modern React development commonly uses tools such as Vite for creating new applications.
Vite provides a fast development experience and a straightforward build process, which makes it a good choice for beginners starting a new React project.
Therefore, for a new project in 2026, learning the Vite workflow is generally more useful than following older Create React App tutorials.
How to Check Your React Version
Inside your project directory, you can run:
npm list react
You can also inspect the package.json file:
cat package.json
Look for the React dependency.
How to Update Project Dependencies
Before updating packages, it is a good idea to understand what your project currently uses.
Run:
npm outdated
You can then update dependencies according to your project’s requirements.
Avoid blindly updating every dependency in a production application because major version changes can introduce breaking changes.
Where Should You Go After Installing React?
Installing React is only the beginning.
After creating your first project, learn these topics in order:
- JavaScript fundamentals
- JSX
- React components
- Props
- State
- Event handling
- Conditional rendering
- Lists and keys
- Forms
- React Hooks
useStateuseEffect- React Router
- API integration
- Authentication
- State management
- Production deployment
Once you understand these concepts, you can start building real-world React applications.
Frequently Asked Questions
Can I install React on Linux?
Yes. React works very well on Linux. You normally install Node.js and npm first, then create a React project using a tool such as Vite.
Is React free?
Yes. React is an open-source JavaScript library and can be used to build websites and web applications.
Do I need Node.js to use React?
For modern React development workflows, Node.js is typically required for installing packages, running development tools, and creating production builds.
Can I use React on Ubuntu?
Yes. Ubuntu is one of the popular Linux distributions for web development and works well with React, Node.js, npm, and Vite.
Can I use React without Vite?
Yes. Vite is a development/build tool rather than React itself. React can be used with other tooling, but Vite is a convenient choice for creating a new React application.
Can I build a website with React on Linux?
Absolutely. You can develop complete websites and web applications with React on Linux and deploy the resulting application to a web server or hosting platform.
Conclusion
Installing React on Linux is relatively simple once Node.js and npm are configured correctly.
The basic workflow is:
nvm install --lts
then:
npm create vite@latest my-react-app
followed by:
cd my-react-app
npm install
npm run dev
After the development server starts, open the local URL provided by Vite in your browser.
From there, you can start learning React components, JSX, props, state, hooks, routing, API integration, and other concepts required to build modern web applications.
If you are a Linux user learning web development, React combined with Node.js, npm, Vite, and VS Code provides a powerful development environment for building modern frontend applications.