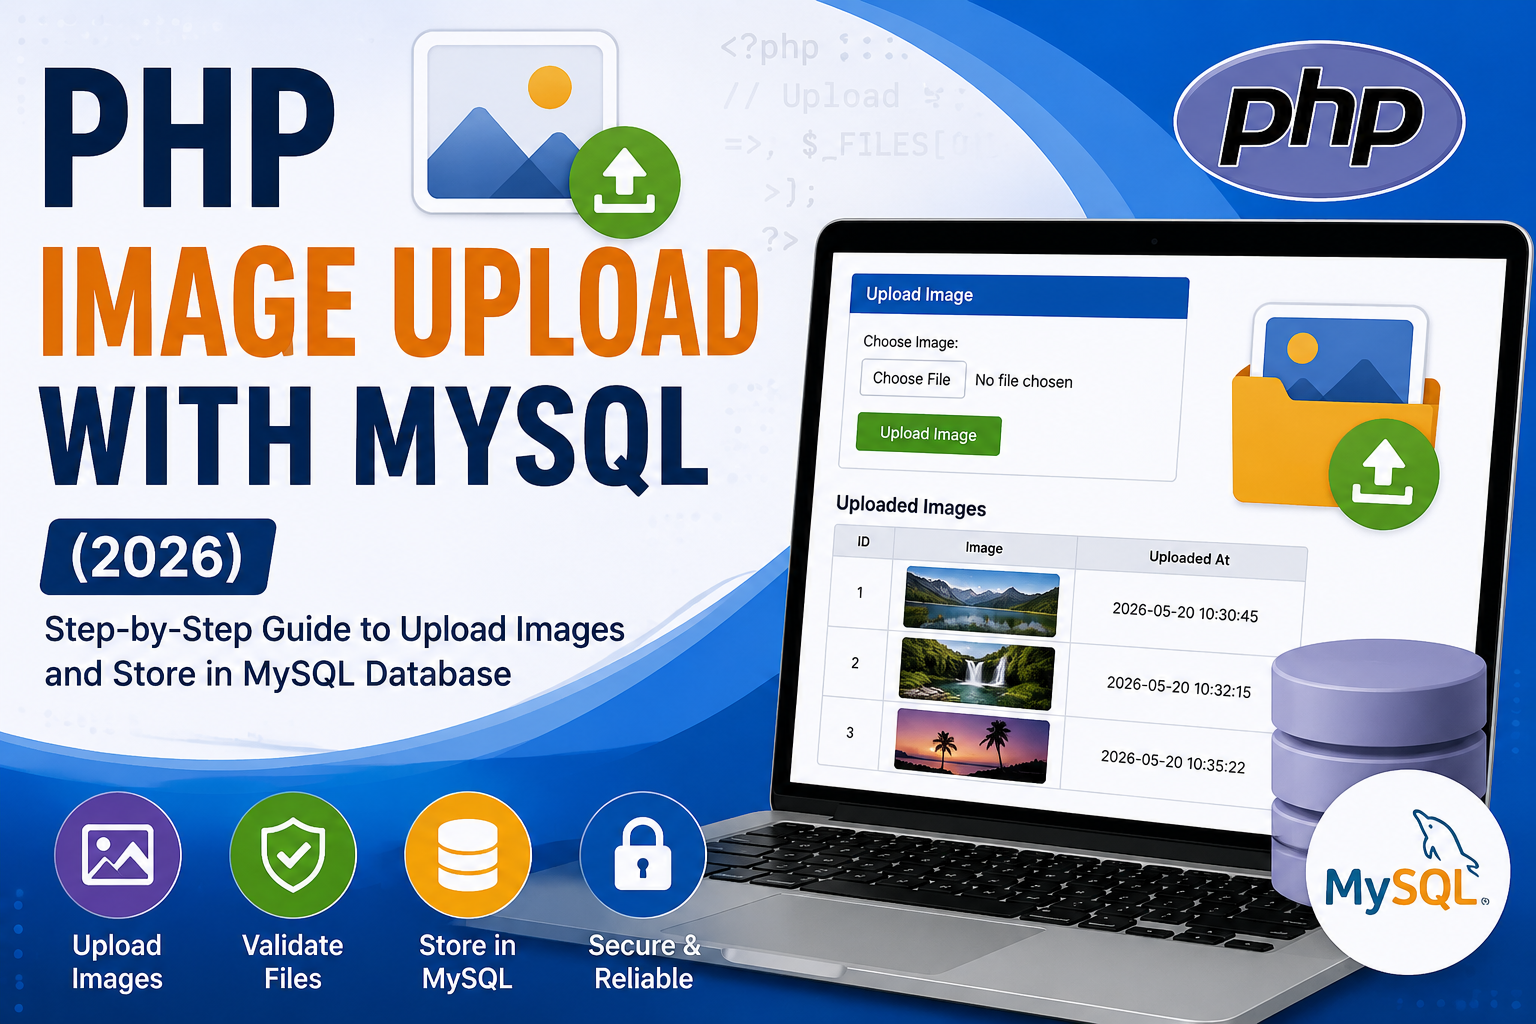
PHP Image Upload with MySQL (2026)
Uploading images is one of the most common tasks in PHP web development. Whether you’re building a user profile system, blog, eCommerce website, or gallery, you’ll need a secure image upload feature.
In this tutorial, you’ll learn how to upload images using PHP and MySQL with a complete beginner-friendly example that works with PHP 8.x.
What You’ll Learn
- Upload images using PHP
- Store image names in MySQL
- Validate uploaded files
- Restrict file types
- Limit file size
- Display uploaded images
- Secure your upload system
Read this also : PHP Forms Explained with Examples (Beginner Guide 2026)
Project Structure
image-upload/
│
├── uploads/
├── index.php
├── upload.php
├── db.php
└── images.sql
Create an uploads folder where images will be stored.
Step 1: Create Database
CREATE DATABASE image_upload_db;
Use the database:
USE image_upload_db;
Create table:
CREATE TABLE images (
    id INT AUTO_INCREMENT PRIMARY KEY,
    image_name VARCHAR(255) NOT NULL,
    uploaded_at TIMESTAMP DEFAULT CURRENT_TIMESTAMP
);
Step 2: Database Connection (db.php)
<?php

$conn = mysqli_connect("localhost","root","","image_upload_db");

if(!$conn){
    die("Connection Failed : ".mysqli_connect_error());
}

?>
Step 3: Create Upload Form (index.php)
<!DOCTYPE html>
<html>
<head>
<title>PHP Image Upload</title>
</head>

<body>

<h2>Upload Image</h2>

<form action="upload.php"
method="POST"
enctype="multipart/form-data">

<input
type="file"
name="image"
required>

<br><br>

<button type="submit">
Upload Image
</button>

</form>

</body>
</html>
Important: Always use:
enctype="multipart/form-data"
Otherwise the image won’t upload.
Step 4: Upload Image (upload.php)
<?php

include "db.php";

$image = $_FILES['image']['name'];

$tmp = $_FILES['image']['tmp_name'];

$folder = "uploads/".$image;

if(move_uploaded_file($tmp,$folder)){

$sql = "INSERT INTO images(image_name)
VALUES('$image')";

if(mysqli_query($conn,$sql)){

echo "Image Uploaded Successfully.";

}else{

echo "Database Error.";

}

}else{

echo "Upload Failed.";

}

?>
Step 5: Display Uploaded Images
<?php

include "db.php";

$result = mysqli_query($conn,
"SELECT * FROM images");

while($row = mysqli_fetch_assoc($result))
{

?>

<img
src="uploads/<?php
echo $row['image_name']; ?>"
width="200">

<?php

}

?>
Every uploaded image will be displayed from the uploads folder.
Allow Only Images
Never allow every file.
$allowed = ["jpg","jpeg","png","gif","webp"];

$extension = strtolower(pathinfo(
$image,
PATHINFO_EXTENSION));

if(!in_array($extension,$allowed))
{
die("Only image files allowed.");
}
Limit File Size
if($_FILES['image']['size'] > 2 * 1024 * 1024){

die("Maximum file size is 2 MB.");

}
This limits uploads to 2 MB.
Rename Uploaded Files
Avoid duplicate filenames.
$newName =
time()."_".$image;

$folder =
"uploads/".$newName;
Store $newName in the database instead of the original filename.
Complete Secure Upload Example
$image=$_FILES['image'];

$allowed=['jpg','jpeg','png','gif','webp'];

$extension=strtolower(
pathinfo(
$image['name'],
PATHINFO_EXTENSION));

if(!in_array($extension,$allowed))
die("Invalid Image");

if($image['size']>2097152)
die("Image Too Large");

$newName=time().".".$extension;

move_uploaded_file(
$image['tmp_name'],
"uploads/".$newName);

mysqli_query(
$conn,
"INSERT INTO images(image_name)
VALUES('$newName')");
This version is safer for real projects.
Common Errors
Image Not Uploading
Possible reasons:
- uploads folder missing
- Wrong folder permission
- Missing
enctype - Wrong file path
Undefined Index
Occurs when:
$_FILES['image']
doesn’t exist because the form field name doesn’t match.
Upload Folder Permission Denied
Linux users can run:
chmod 755 uploads
or
chmod 775 uploads
depending on your server setup.
Best Practices
- Allow only image extensions.
- Limit file size.
- Rename uploaded files.
- Store only the filename in MySQL.
- Keep uploaded files outside the public root if possible.
- Validate MIME type for extra security.
- Never trust the original filename.
FAQs
Why store only the filename in MySQL?
Because storing large image files directly in the database is slower and consumes more storage. Saving the filename or path is more efficient.
Which image formats should I allow?
Usually:
- JPG
- JPEG
- PNG
- GIF
- WEBP
Can I upload multiple images?
Yes. Use the multiple attribute in the file input and loop through the $_FILES array.
Is move_uploaded_file() necessary?
Yes. It securely moves the uploaded file from the temporary location to your chosen upload folder.
Conclusion
Uploading images with PHP and MySQL is a fundamental skill for web developers. By validating file types, limiting file sizes, renaming uploaded files, and storing only the filename in the database, you can build a secure and efficient image upload system suitable for blogs, user profiles, galleries, and eCommerce websites.