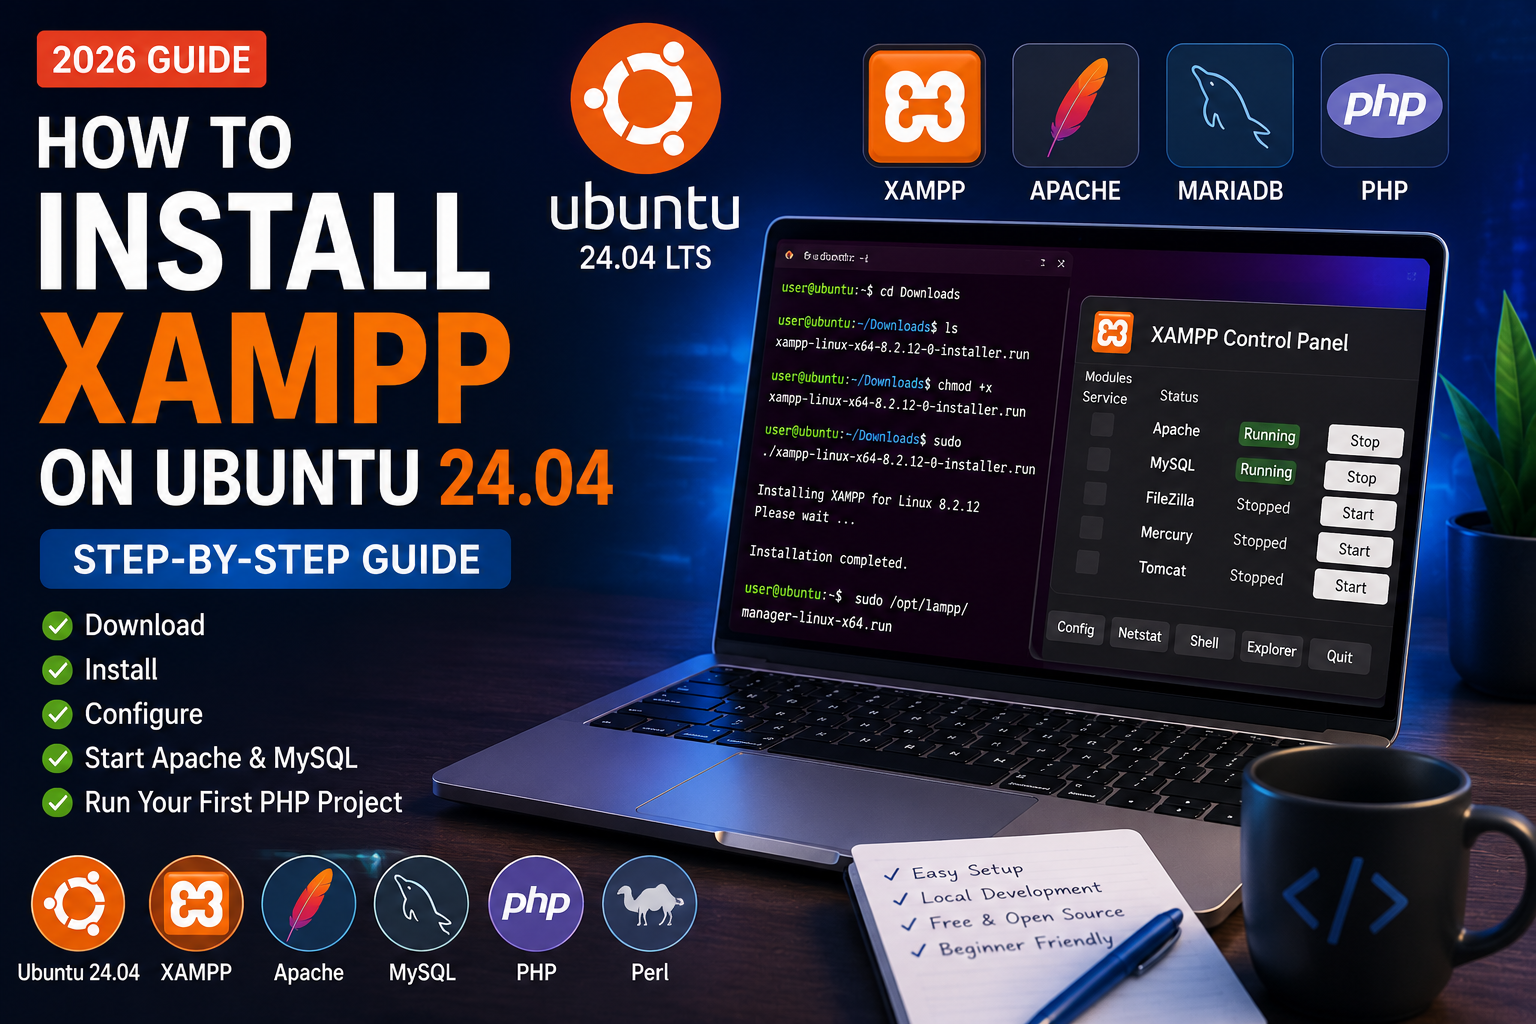
How to Install XAMPP on Ubuntu 24.04
If you want to build PHP websites on your local computer without purchasing web hosting, XAMPP is one of the easiest solutions available. It allows you to create a complete web server environment on your Ubuntu machine with just a few steps.
XAMPP includes everything required for PHP development, such as Apache, MariaDB, PHP, and Perl. Once installed, you can run websites locally, test applications, develop WordPress sites, and build PHP projects without an internet connection.
In this guide, you’ll learn how to install XAMPP on Ubuntu 24.04 from scratch.
What is XAMPP?
XAMPP is a free and open-source local web server package developed by Apache Friends.
The name XAMPP stands for:
- X – Cross Platform
- A – Apache Web Server
- M – MariaDB
- P – PHP
- P – Perl
It is designed to help developers quickly set up a local development environment.
Why Use XAMPP?
XAMPP is popular because it provides everything needed to start PHP development immediately.
Some major advantages include:
- Easy installation
- Beginner-friendly interface
- Free to use
- Supports PHP development
- Perfect for WordPress
- Works offline
- Ideal for testing websites before going live
Whether you are learning PHP or building a professional project, XAMPP is an excellent choice.
Prerequisites
Before installing XAMPP, ensure you have:
- Ubuntu 24.04 installed
- Internet connection
- Terminal access
- User account with sudo privileges
- At least 2 GB of free disk space
It is also recommended to update your system before starting the installation.
Step 1: Update Ubuntu
Open Terminal (Ctrl + Alt + T) and run:
sudo apt update
sudo apt upgrade -y
Updating your packages ensures compatibility with the latest software.
Step 2: Download XAMPP
Visit the official Apache Friends website and download the latest Linux version of XAMPP.
Or download it directly using:
wget https://www.apachefriends.org/xampp-files/8.2.12/xampp-linux-x64-8.2.12-0-installer.run
Note: Replace the version number with the latest release if a newer version is available.
Step 3: Make the Installer Executable
Downloaded files do not always have execute permission.
Run:
chmod +x xampp-linux-x64-8.2.12-0-installer.run
This command allows Ubuntu to execute the installer.
Step 4: Install XAMPP
Now start the installer using:
sudo ./xampp-linux-x64-8.2.12-0-installer.run
A graphical installer will open.
Click:
- Next
- Next
- Next
- Install
The installation process usually takes a few minutes.
Once completed, click Finish.
Step 5: Launch XAMPP
Open the XAMPP Control Panel using:
sudo /opt/lampp/manager-linux-x64.run
The XAMPP Manager window will appear.
From here you can start or stop:
- Apache
- MySQL (MariaDB)
- ProFTPD (if installed)
What’s Next?
Now that XAMPP is installed successfully, the next steps are:
- Start Apache and MySQL
- Verify the installation in your browser
- Create your first PHP project
- Learn where to store website files
- Fix common installation errors