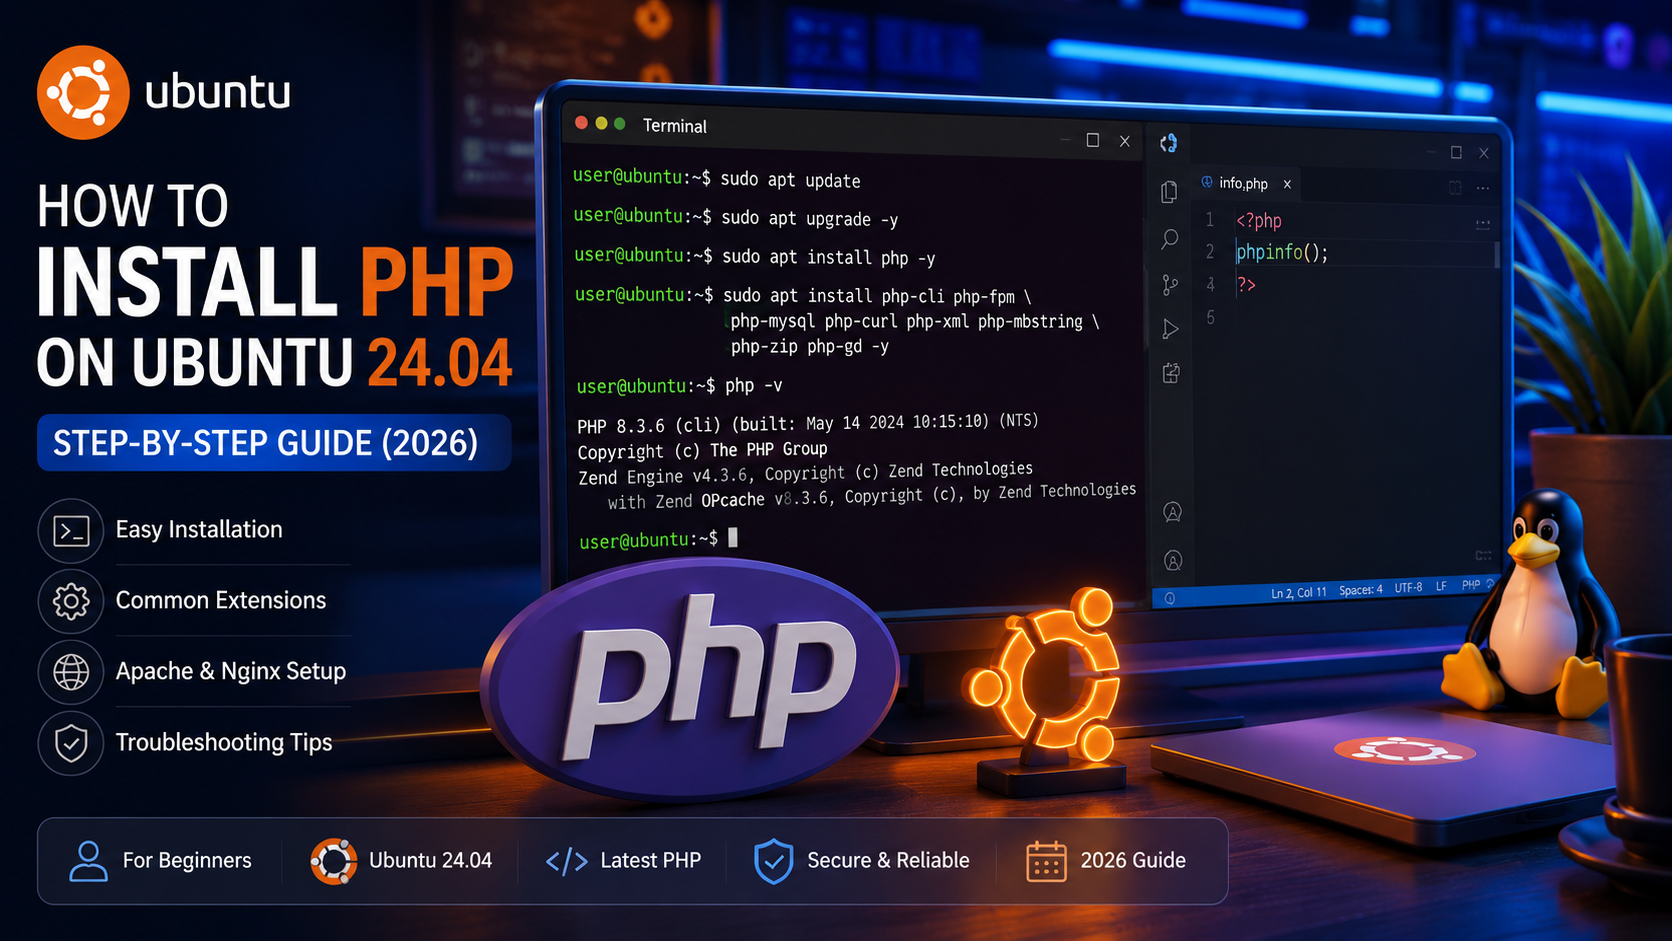
Step 6: Test PHP Using phpinfo()
After installing PHP, it is a good practice to verify that your web server can process PHP files correctly.
Create a new file named:
info.php
Add the following code:
<?php
phpinfo();
?>
If you are using Apache, save this file inside the default web directory:
/var/www/html/
Now open your browser and visit:
http://localhost/info.php
If everything is configured correctly, you will see the PHP Information page displaying:
- PHP Version
- Loaded Extensions
- Configuration Settings
- Server Information
- Environment Variables
Security Tip: Once testing is complete, delete the
info.phpfile because it exposes server configuration details.
Step 7: Install Apache (Optional)
Apache is one of the most popular web servers for PHP development.
Install Apache using:
sudo apt install apache2 -y
Start Apache:
sudo systemctl start apache2
Enable Apache at boot:
sudo systemctl enable apache2
Check its status:
sudo systemctl status apache2
Now open:
http://localhost
If you see the Apache default page, the installation is successful.
Step 8: Install Nginx (Optional)
Many developers prefer Nginx because it is lightweight and performs well under heavy traffic.
Install Nginx:
sudo apt install nginx -y
Start Nginx:
sudo systemctl start nginx
Enable it on boot:
sudo systemctl enable nginx
Check status:
sudo systemctl status nginx
Visit:
http://localhost
You should see the Nginx welcome page.
Step 9: Install Visual Studio Code
A good code editor makes development easier.
Install VS Code using the Ubuntu App Center or download it from Microsoft’s official website.
Recommended extensions:
- PHP Intelephense
- PHP Debug
- Prettier
- GitLens
- Error Lens
These extensions improve code completion, debugging, and formatting.
Common Installation Errors
Error 1: php: command not found
Solution:
sudo apt install php -y
Then verify:
php -v
Error 2: Permission Denied
If a command requires administrator privileges, use:
sudo
Error 3: Apache Not Starting
Check the service status:
sudo systemctl status apache2
Restart Apache:
sudo systemctl restart apache2
Error 4: Port 80 Already in Use
Find the process using port 80:
sudo lsof -i :80
Stop the conflicting service or change the port configuration.
Error 5: PHP Extensions Missing
Install the required extension, for example:
sudo apt install php-mysql
Restart your web server afterward.
Best Practices
Follow these recommendations while developing with PHP:
- Keep Ubuntu updated regularly.
- Use the latest stable PHP version.
- Install only the extensions you actually need.
- Remove
phpinfo()after testing. - Keep backups of important projects.
- Use Git for version control.
- Write clean, readable code.
Frequently Asked Questions
Is PHP already installed on Ubuntu?
Usually, no. Most Ubuntu installations require PHP to be installed manually.
Which PHP version should I use?
Always use the latest stable version available for your project unless compatibility requires an older release.
Can I install multiple PHP versions?
Yes. Ubuntu supports installing multiple PHP versions, although additional repository configuration may be required.
Do I need Apache?
No.
PHP works with:
- Apache
- Nginx
- PHP Built-in Development Server
How do I uninstall PHP?
Run:
sudo apt remove php*
sudo apt autoremove
Conclusion
Installing PHP on Ubuntu 24.04 is a straightforward process. After updating your system, installing PHP, adding the required extensions, and verifying the installation, your computer is ready for PHP development.
Whether you’re building websites, REST APIs, WordPress plugins, or Laravel applications, having a properly configured PHP environment is the first step toward successful development.
Take your time to understand each command and practice regularly. A well-configured development environment will save you time and help you avoid common issues later.